Official documentation and step-by-step instructions for deploying and configuring Cabina OS on your desktop or laptop.
01. Preparation
Pre-installation
Visit the official Cabina OS website to download the latest ISO system image, then prepare a bootable USB flash drive (a minimum capacity of 8 GB is recommended).
You can reliably burn the bootable installation media using any of the following trusted image writer tools:
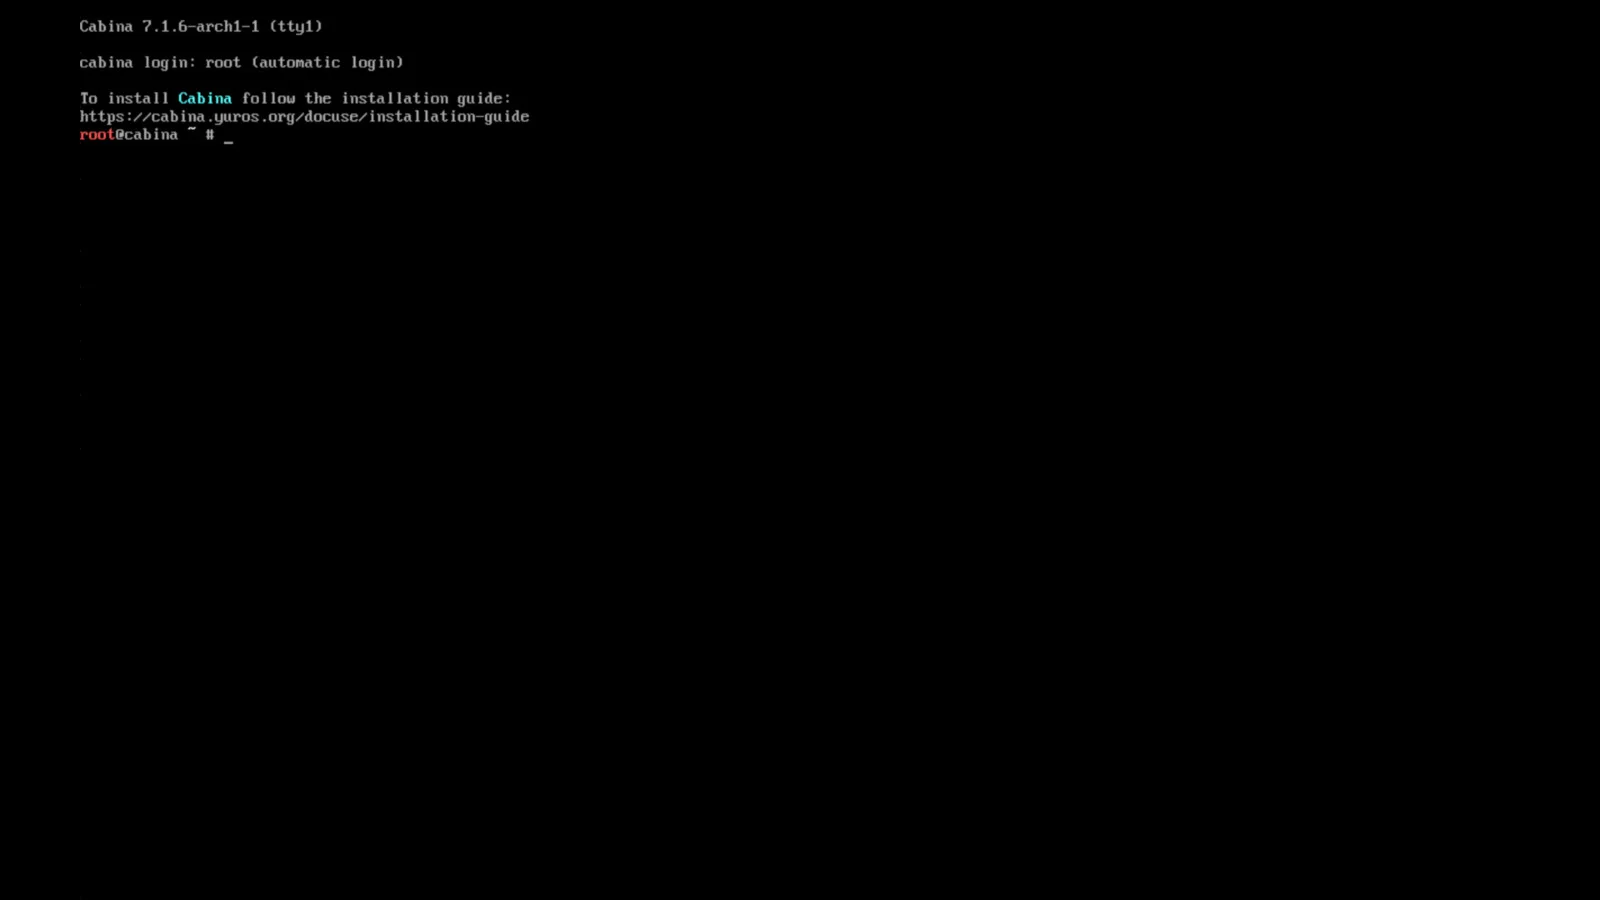
Once your bootable USB containing the Cabina OS image is ready, connect it to your machine and initiate the system hardware boot sequence.
Connect USB: Insert the bootable USB flash drive into an available port on your PC or laptop.
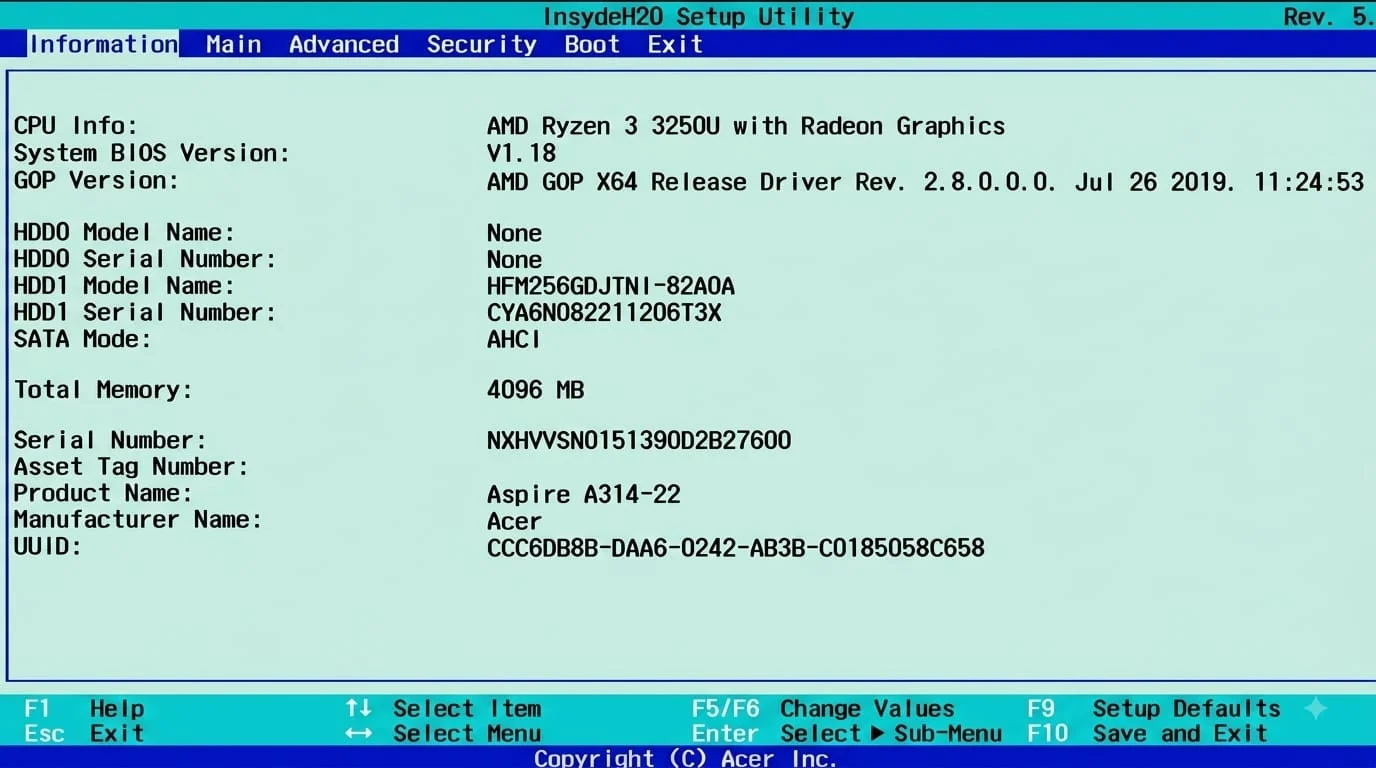
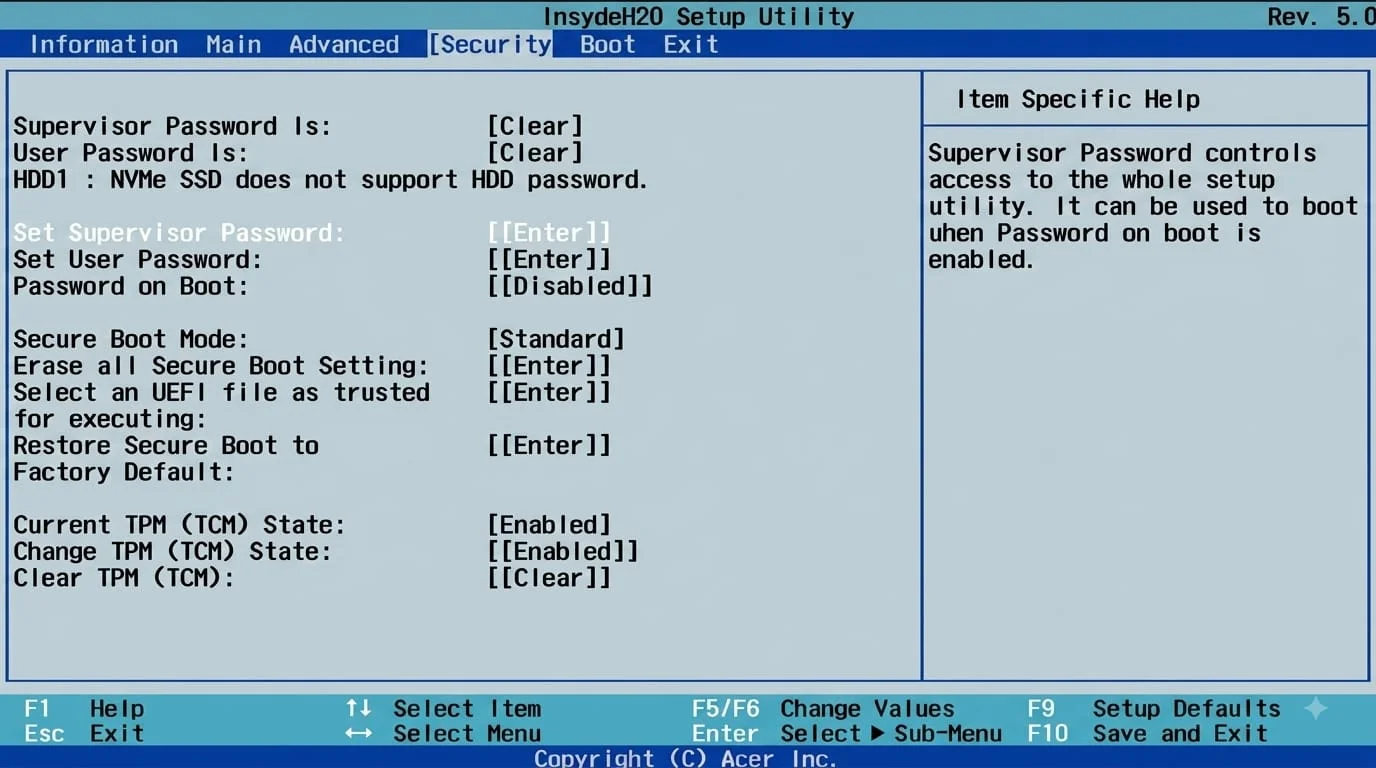
Access BIOS / UEFI: Reboot your device and continuously tap your motherboard's Boot Menu or BIOS key (commonly F2, F12, F11, or Del depending on the manufacturer).
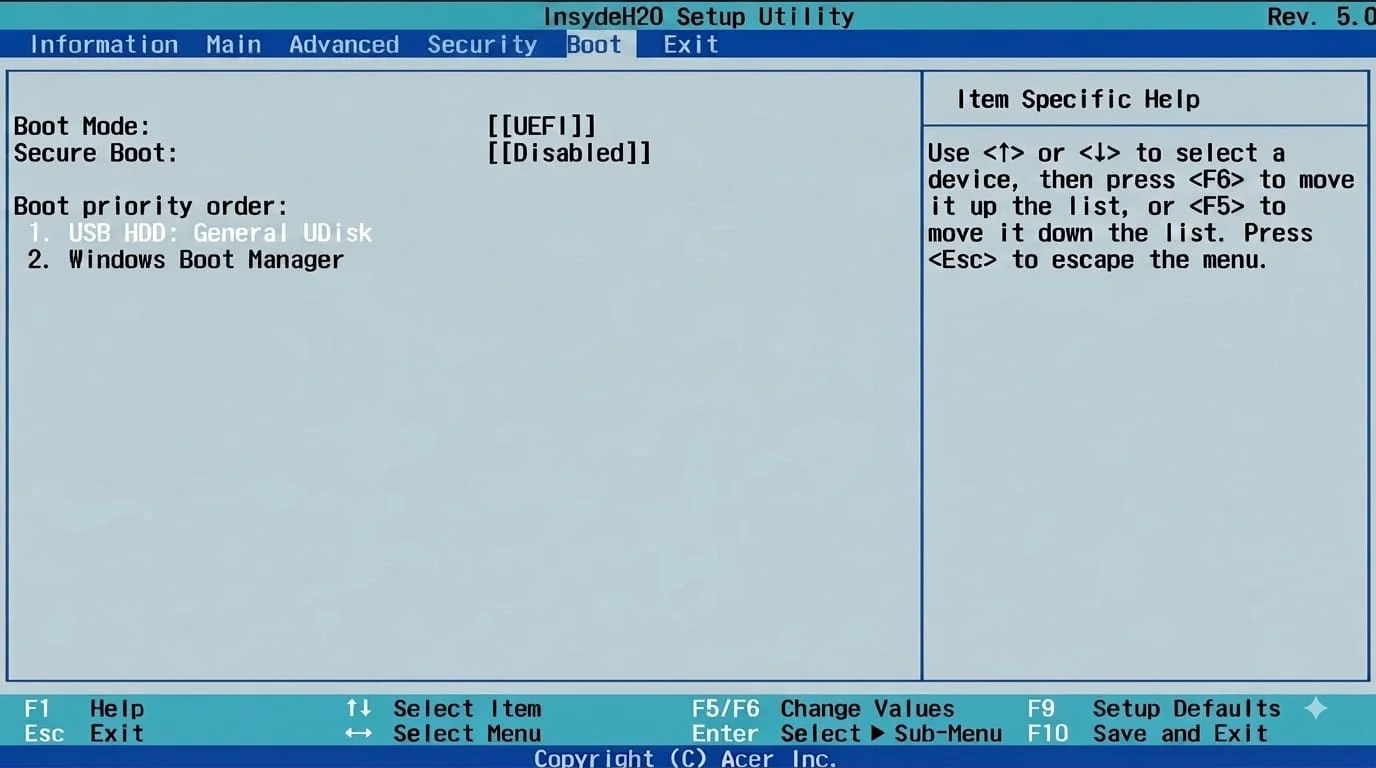
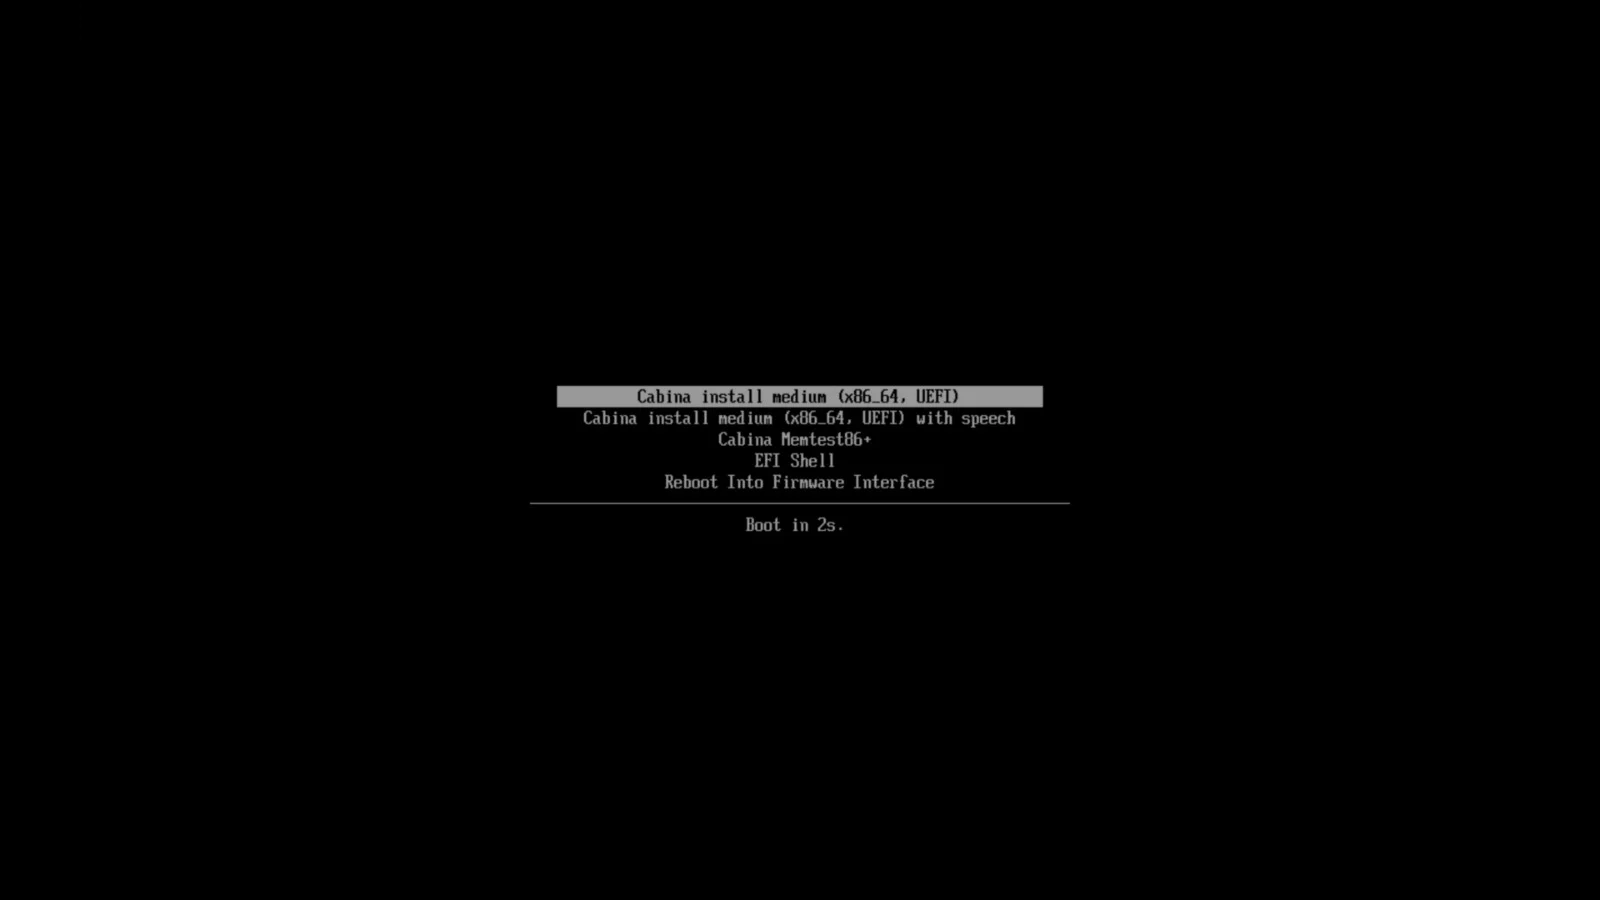
Select Boot Media: Select your Cabina OS USB device from the boot priority list and press Enter to launch into the live environment desktop interface.
03. Networking
Network Connection
After loading into the live environment, establish an active internet connection via Wi-Fi or wired Ethernet (LAN) so the system can download installation packages and sync repositories.
To connect to a Wi-Fi network directly through the command line, perform the following sequence using the built-in iwctl utility:
1. Enter the interactive iwctl prompt:
bash — iwctl
iwctl
2. Scan for surrounding wireless networks:
iwctl prompt
station wlan0 scan
3. List available Wi-Fi networks discovered in range:
iwctl prompt
station wlan0 get-networks
4. Connect to your target Wi-Fi SSID:
iwctl prompt
station wlan0 connect 'wifi-name'
04. Storage
Disk Partitioning
Configure your disk partition table to prepare the foundational volume structure required for Cabina OS installation.
1. Identify storage block device nomenclature and layout:
bash
lsblk
NOTE
Storage naming conventions vary depending on hardware architecture, commonly displaying as nvme0n1 (NVMe SSDs), sda, or sdb (SATA drives).
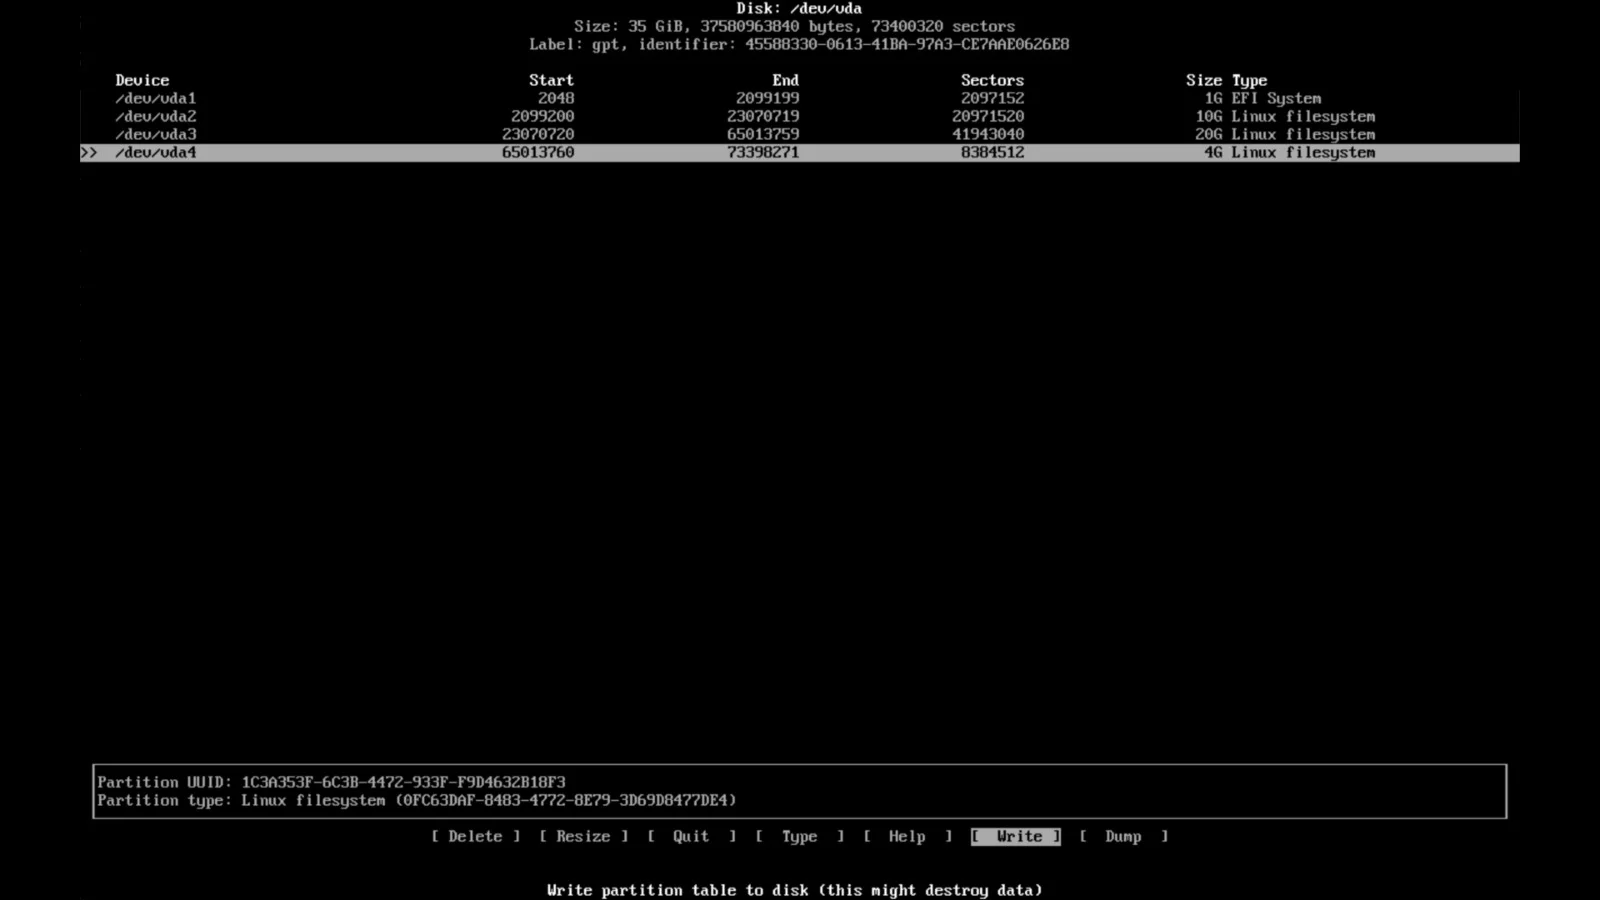
2. Launch the disk partitioning interface (cfdisk):
bash
cfdisk /dev/[partition]
NOTE
Replace [partition] with your target block disk name, such as sda or nvme0n1 (do not include partition numbers).
Recommended partition table schema (reference layout on a 100GB disk):
disk partition layoutExample Output
sda           254:0    0  25G  0 disk
├─sda1        254:1    0    1G  0 part [EFI]
├─sda2        254:2    0   10G  0 part [Linux partition]
├─sda3        254:3    0   10G  0 part [Linux partition]
└─sda4        254:4    0    4G  0 part [Linux partition]
NOTE
Ensure you construct your partition hierarchy (EFI boot, root, home, and swap partitions) following the layout blueprint above.
05. Deployment
Installation Process
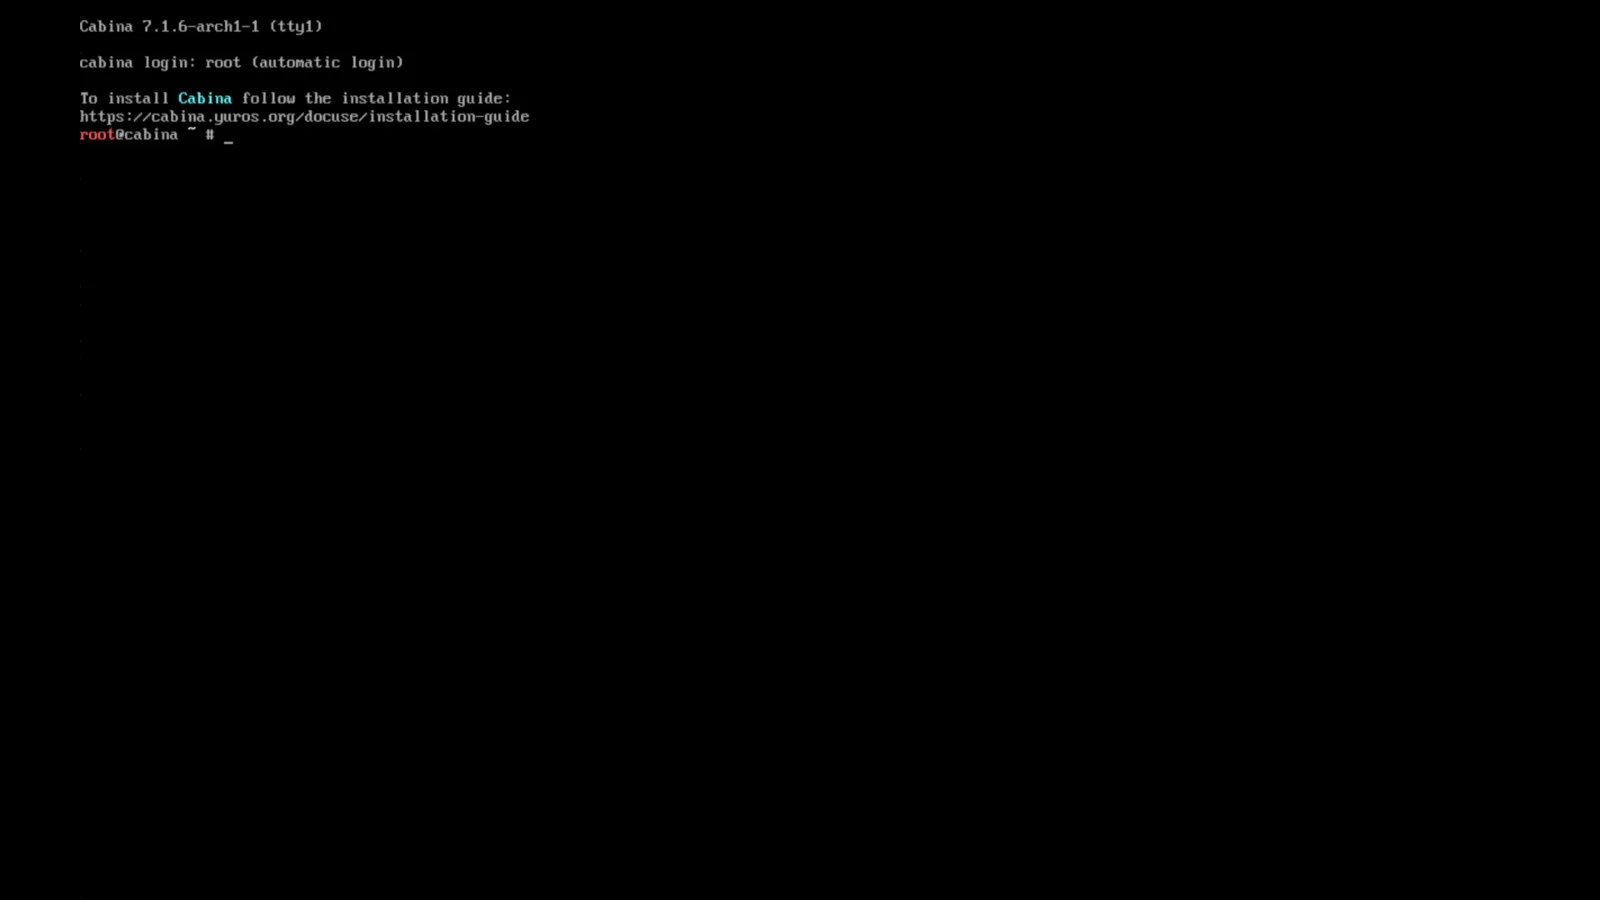
Once disk partitioning is finalized, you are ready to acquire and run the automated Cabina OS installation script. Execute the following terminal commands in order:
Launch the installer routine directly from the terminal:
bash
cabina-install
06. Interactive Configuration
Step by Step
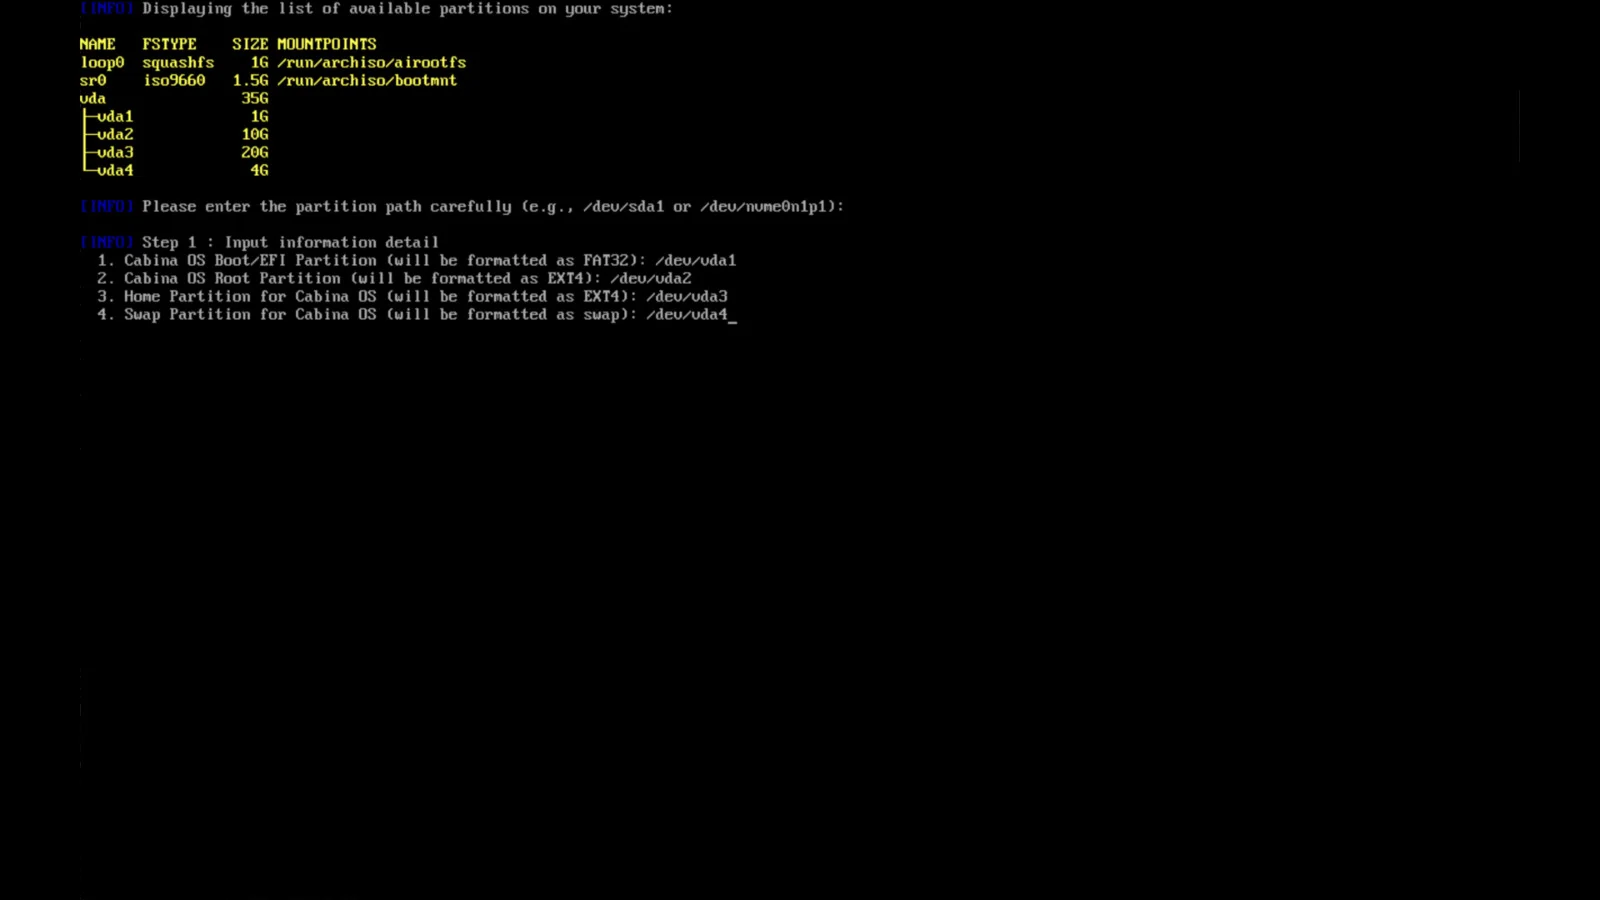
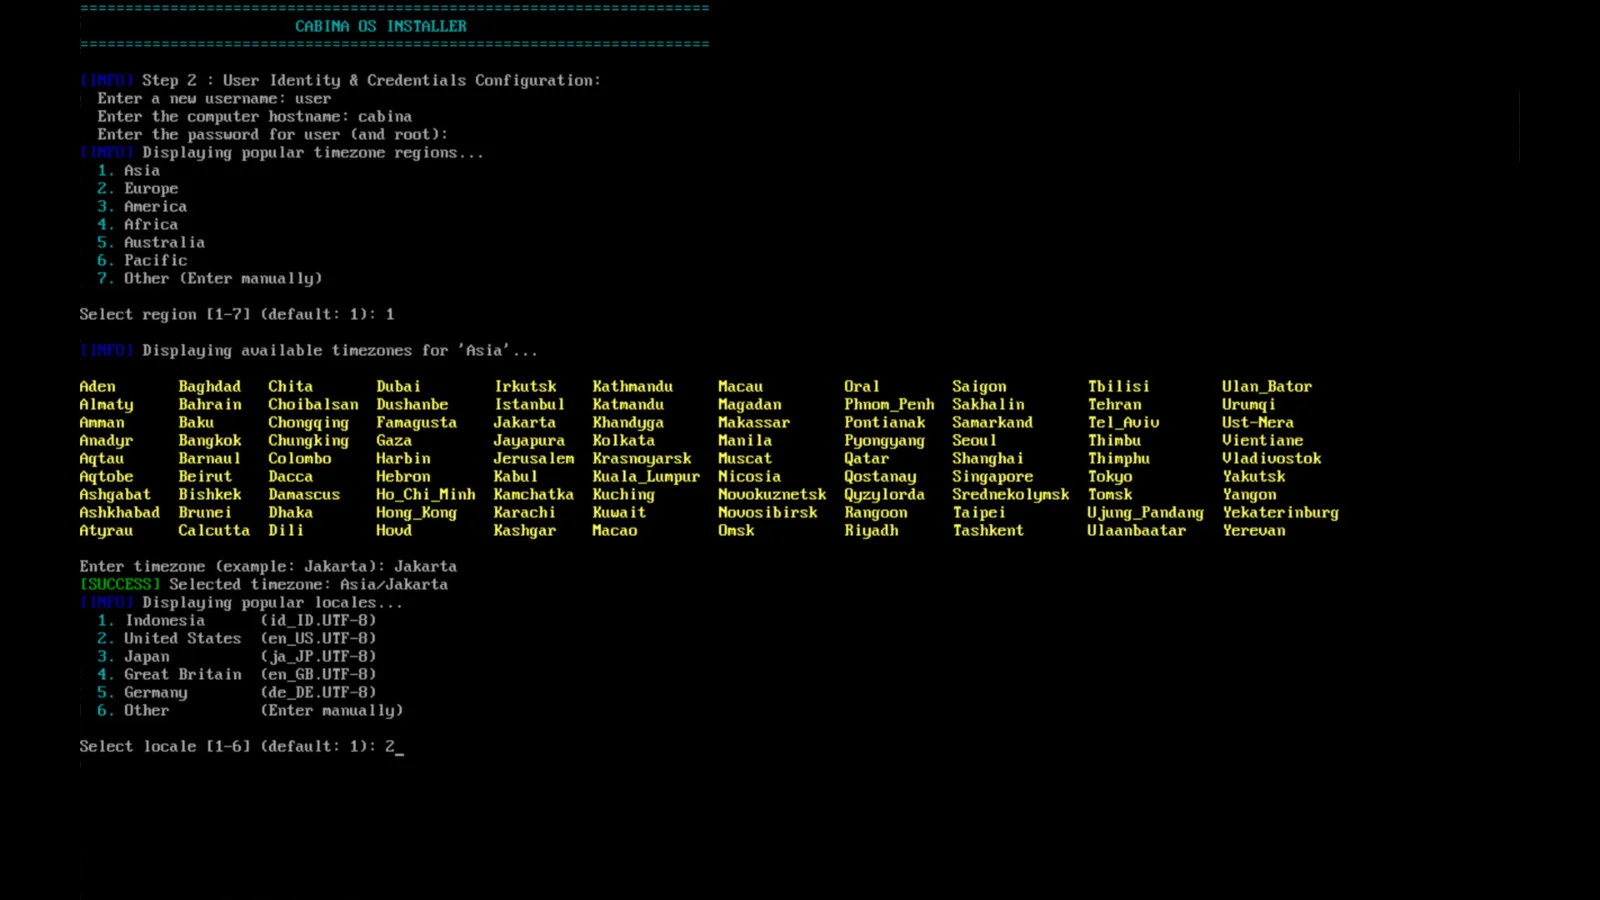
While executing cabina-install, the interactive script will guide you through system provisioning. Follow these chronological milestones during setup:
1
Specify partition for boot (EFI)
Example:/dev/sda1
2
Specify partition for filesystem root
Example:/dev/sda2
3
Specify partition for home directory
Example:/dev/sda3
4
Specify partition for system swap
Example:/dev/sda4
5
Enter account username
Example:user
6
Enter network hostname
Example:cabinahost
7
Assign account password
Example:YourUserPassword1000
8
Select numerical region index for your timezone
Example:1 for Asia
9
Enter target country/city for your timezone
Example:Jakarta
10
Select system keyboard layout and language
Example:2 for US
11
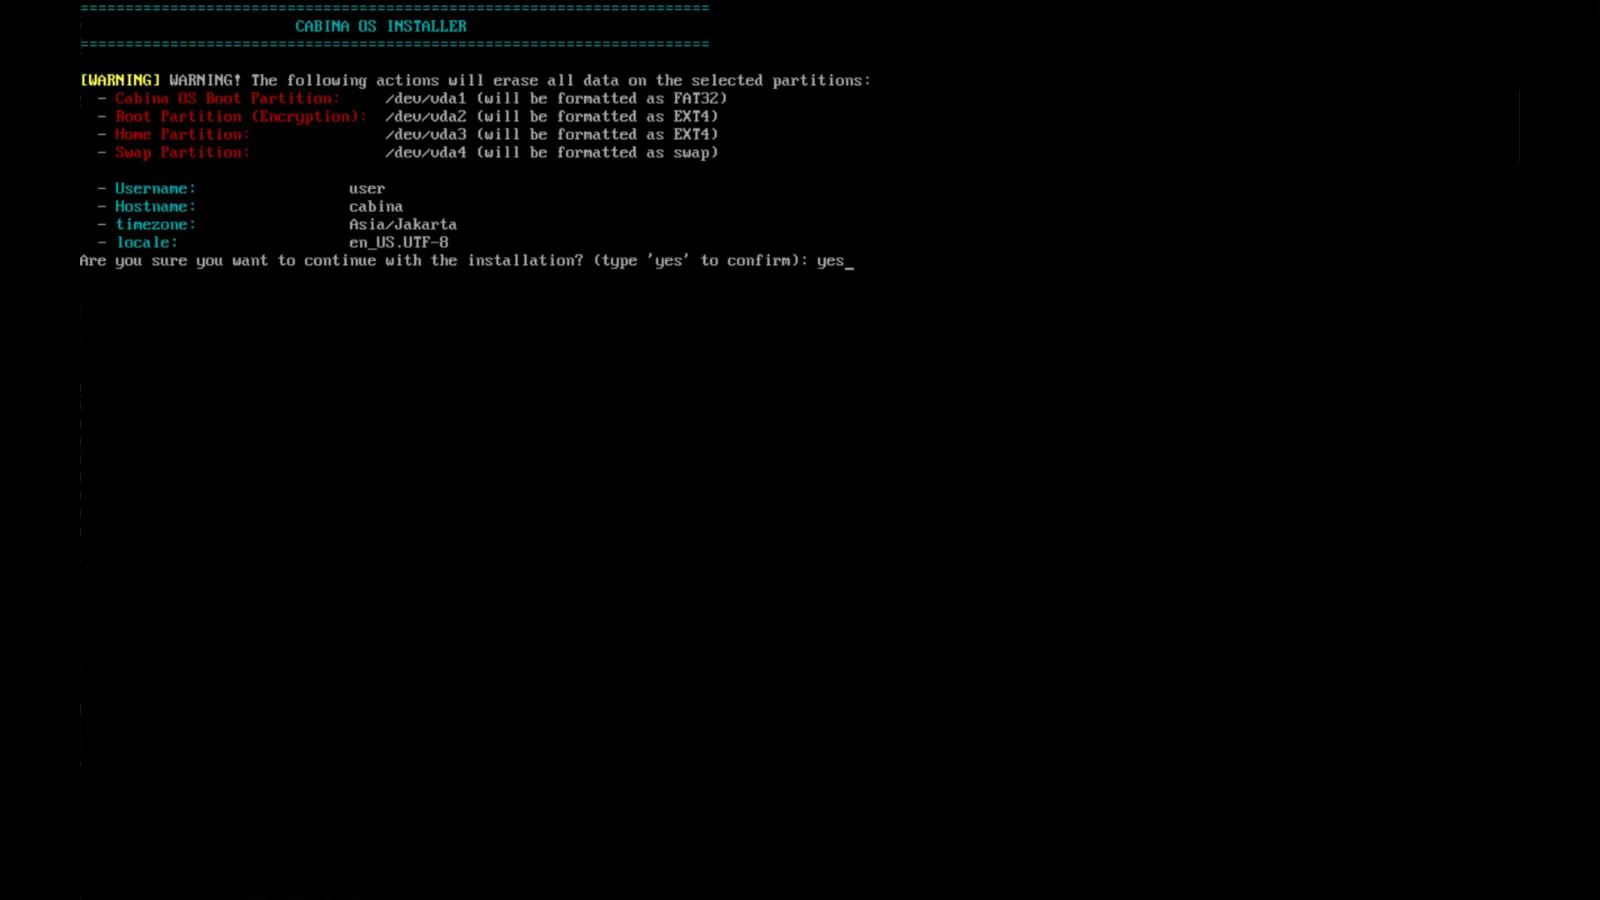
Review assigned parameter profile
Carefully verify your partition mappings, user credentials, hostname, and localization preferences before committing installation changes.
Type 'yes' to commence automated deployment
Confirmation:yes
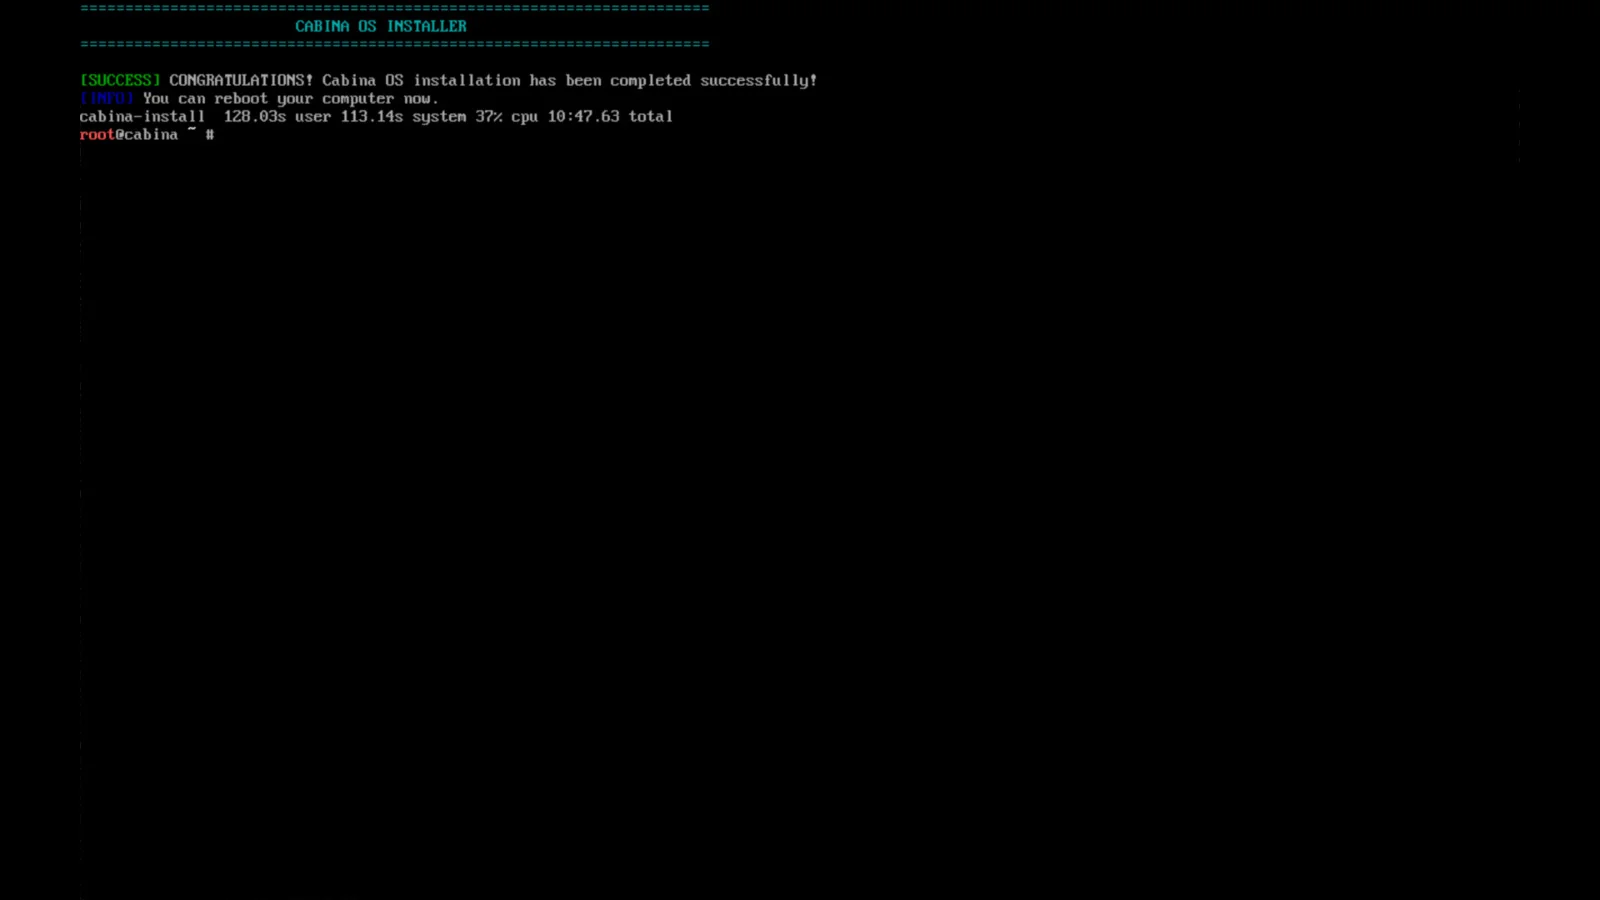
The system will automatically install base packages and configure your system environment. Upon finish, reboot your device to launch into your newly deployed Cabina OS desktop.
07. Post-install
After Installation
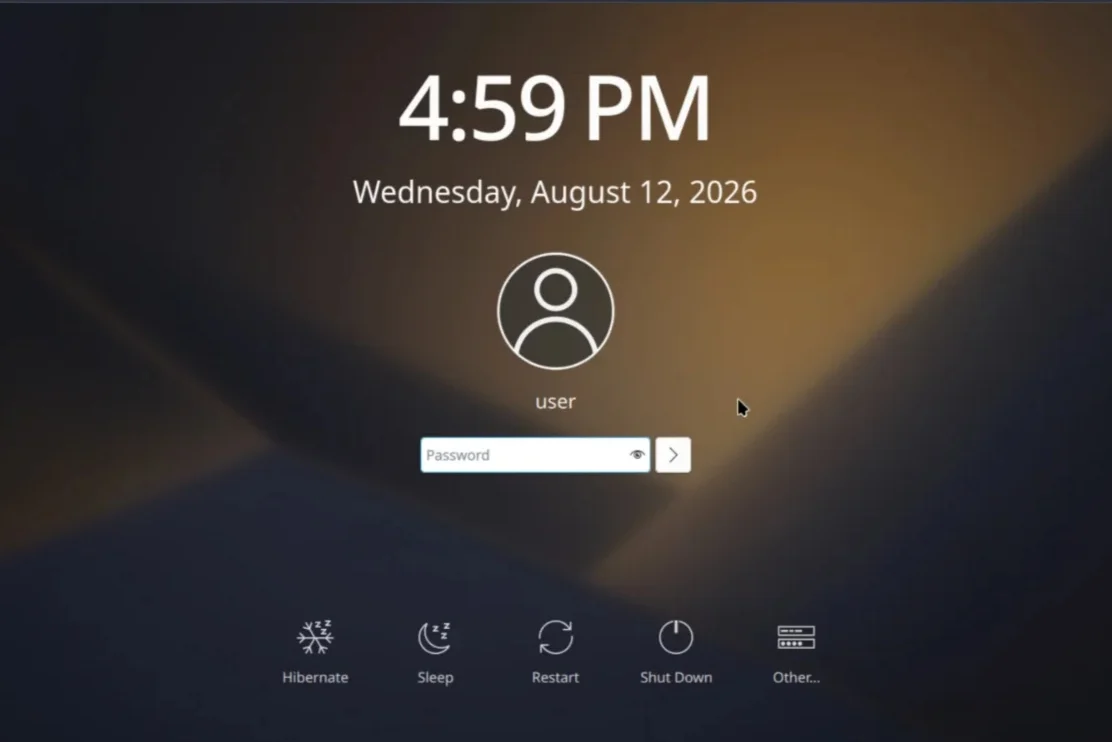
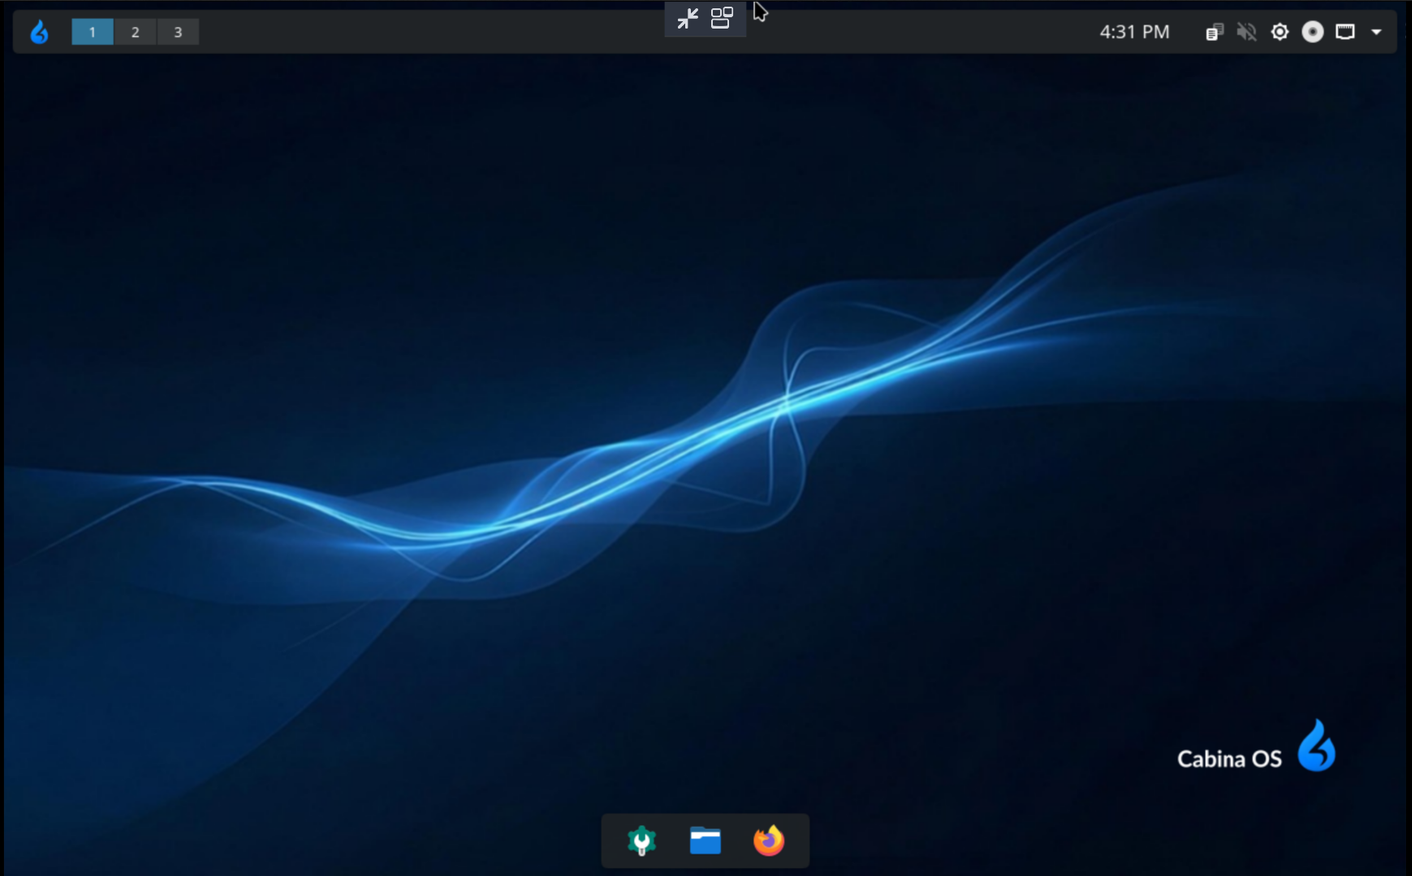
Once your device has rebooted, the Plasma login screen will appear and you can log in by entering the password you created during installation.
LOGIN SCREEN
Welcome to Cabina OS! Enter your user password to access the desktop environment.
08. App Setup
Omeka Setup
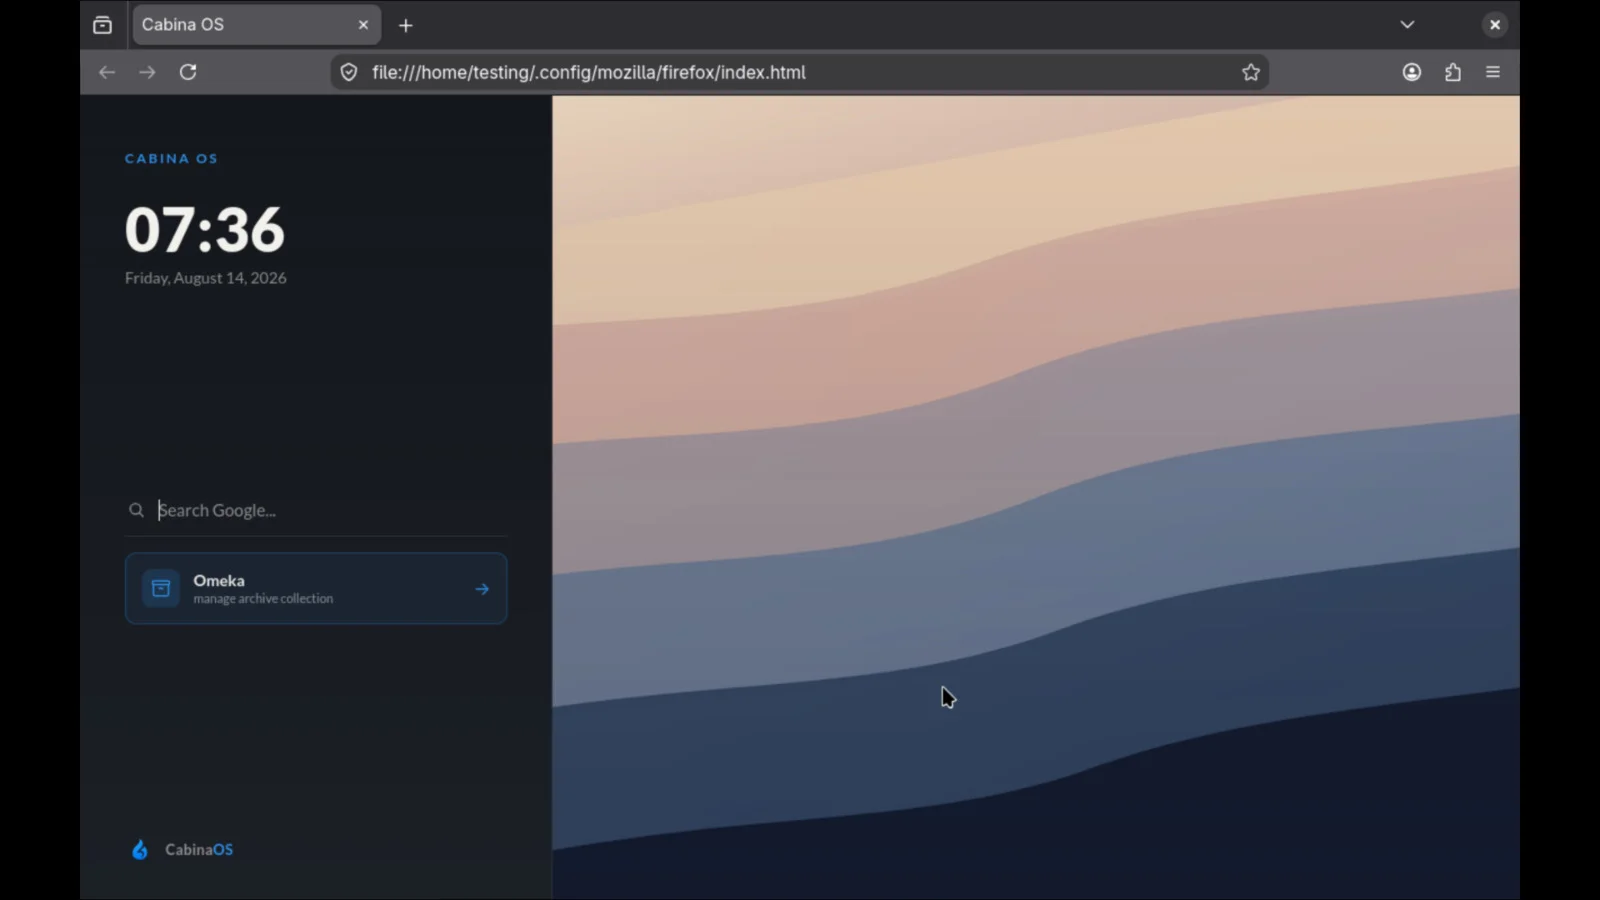
After logging into Cabina OS, you can directly access the Omeka application to manage archives via the Mozilla Firefox browser, which is available by default in Cabina OS.
Step 1: Select the Omeka bookmark in the Firefox browser that is available by default.
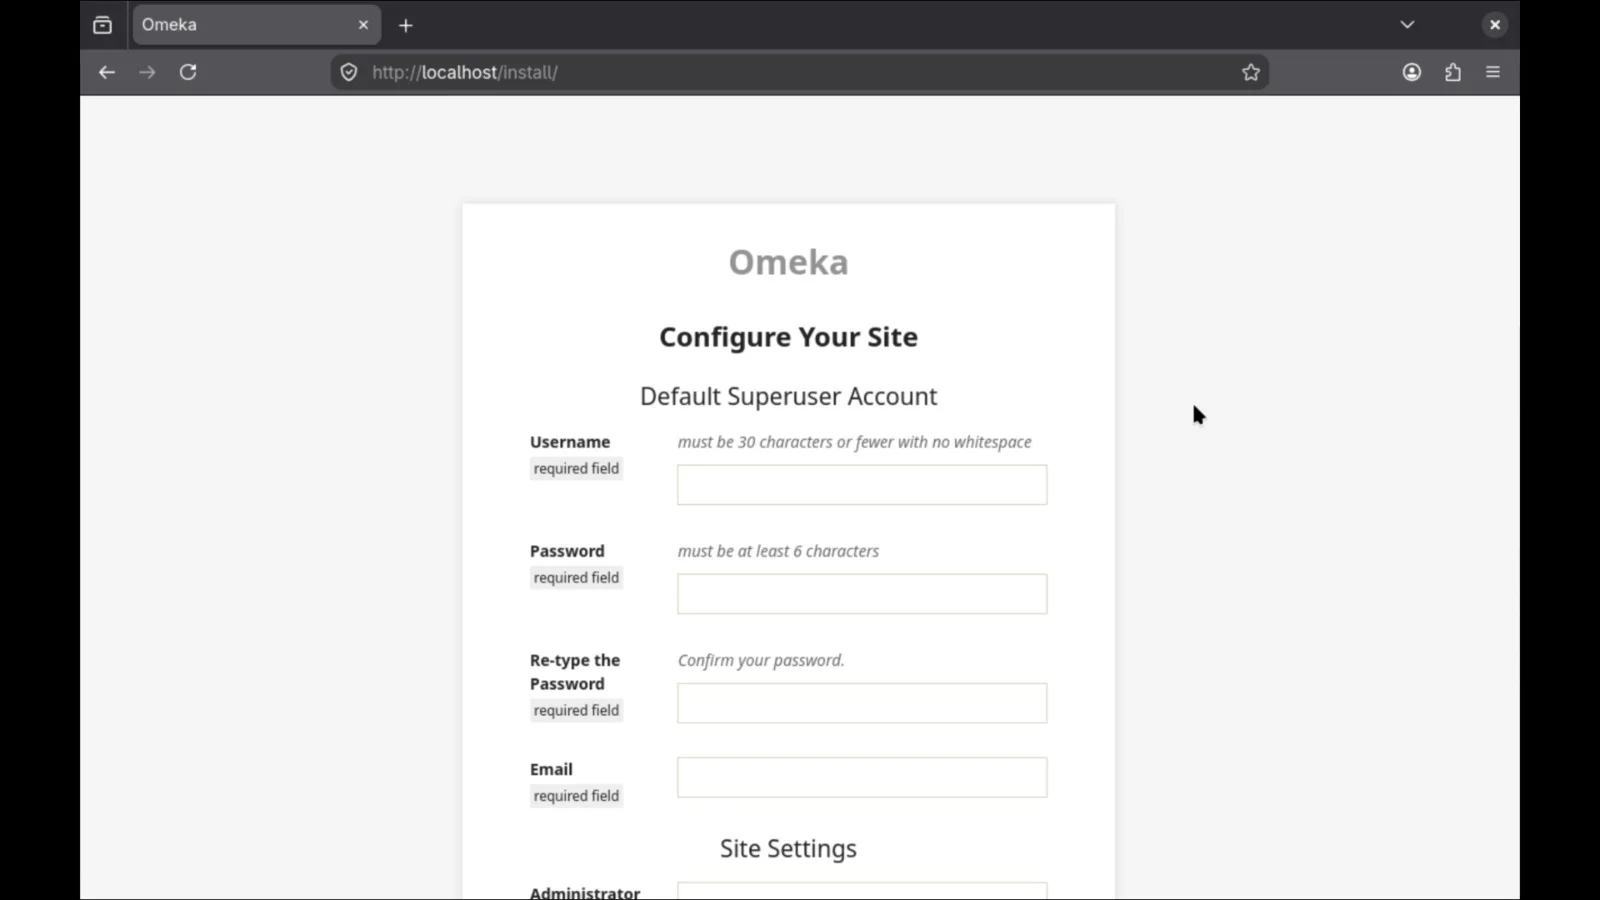
Step 2: You will be prompted to create an account and configure site settings such as entering a username, password, email, etc., before installing Omeka.
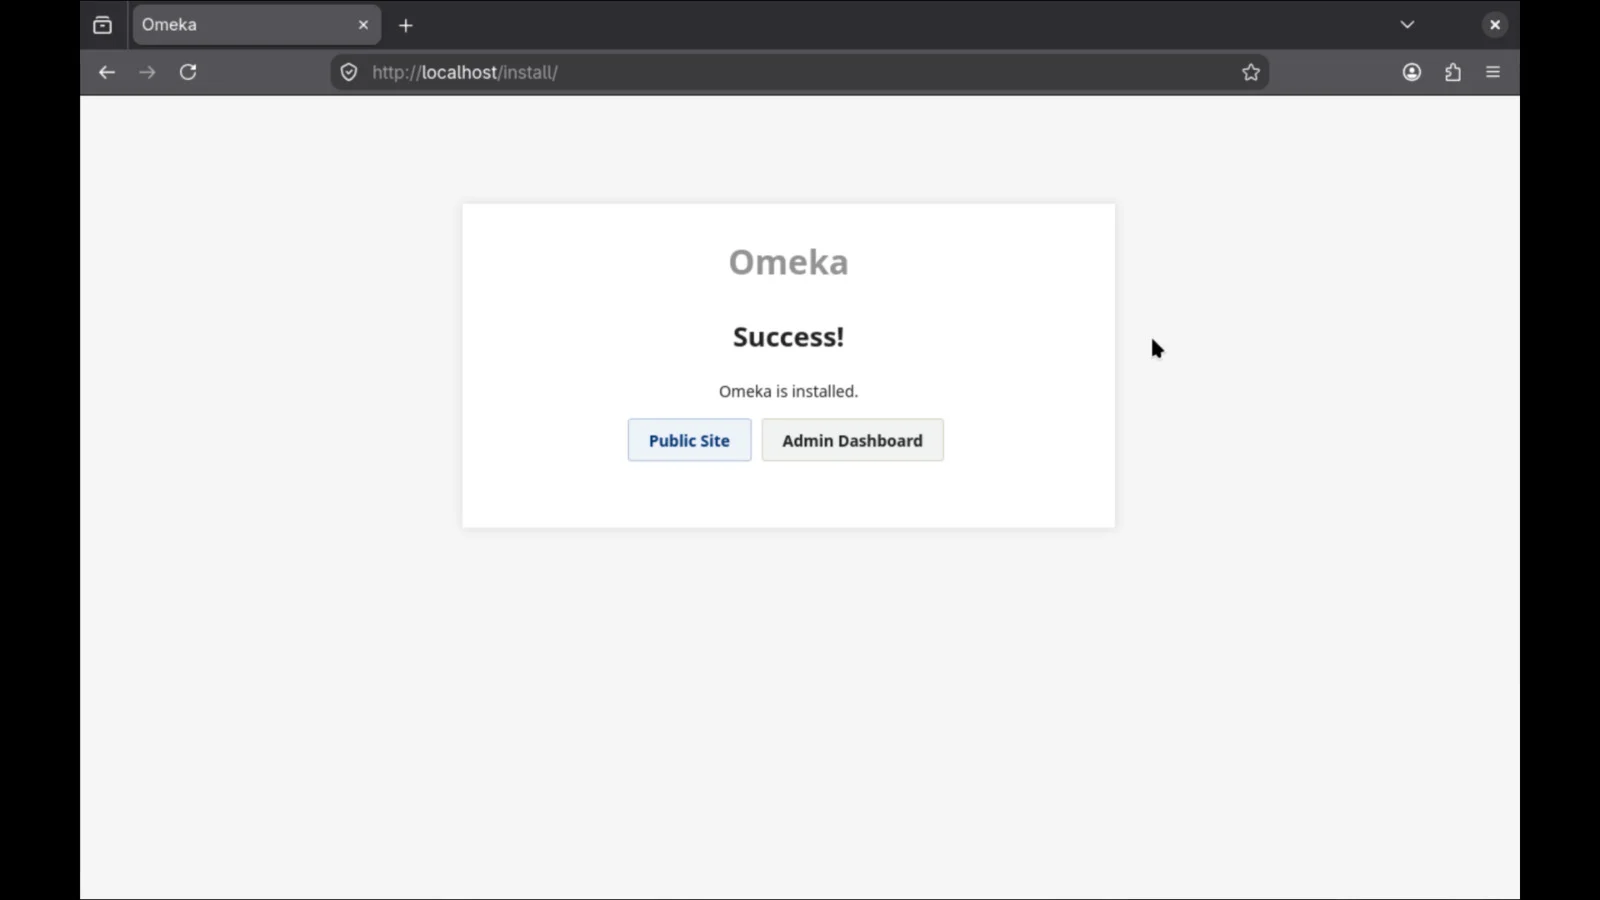
Step 3: After creating an account and configuring site settings, click install. Upon success, you can choose to open the public site for general access or the admin dashboard to manage archives.